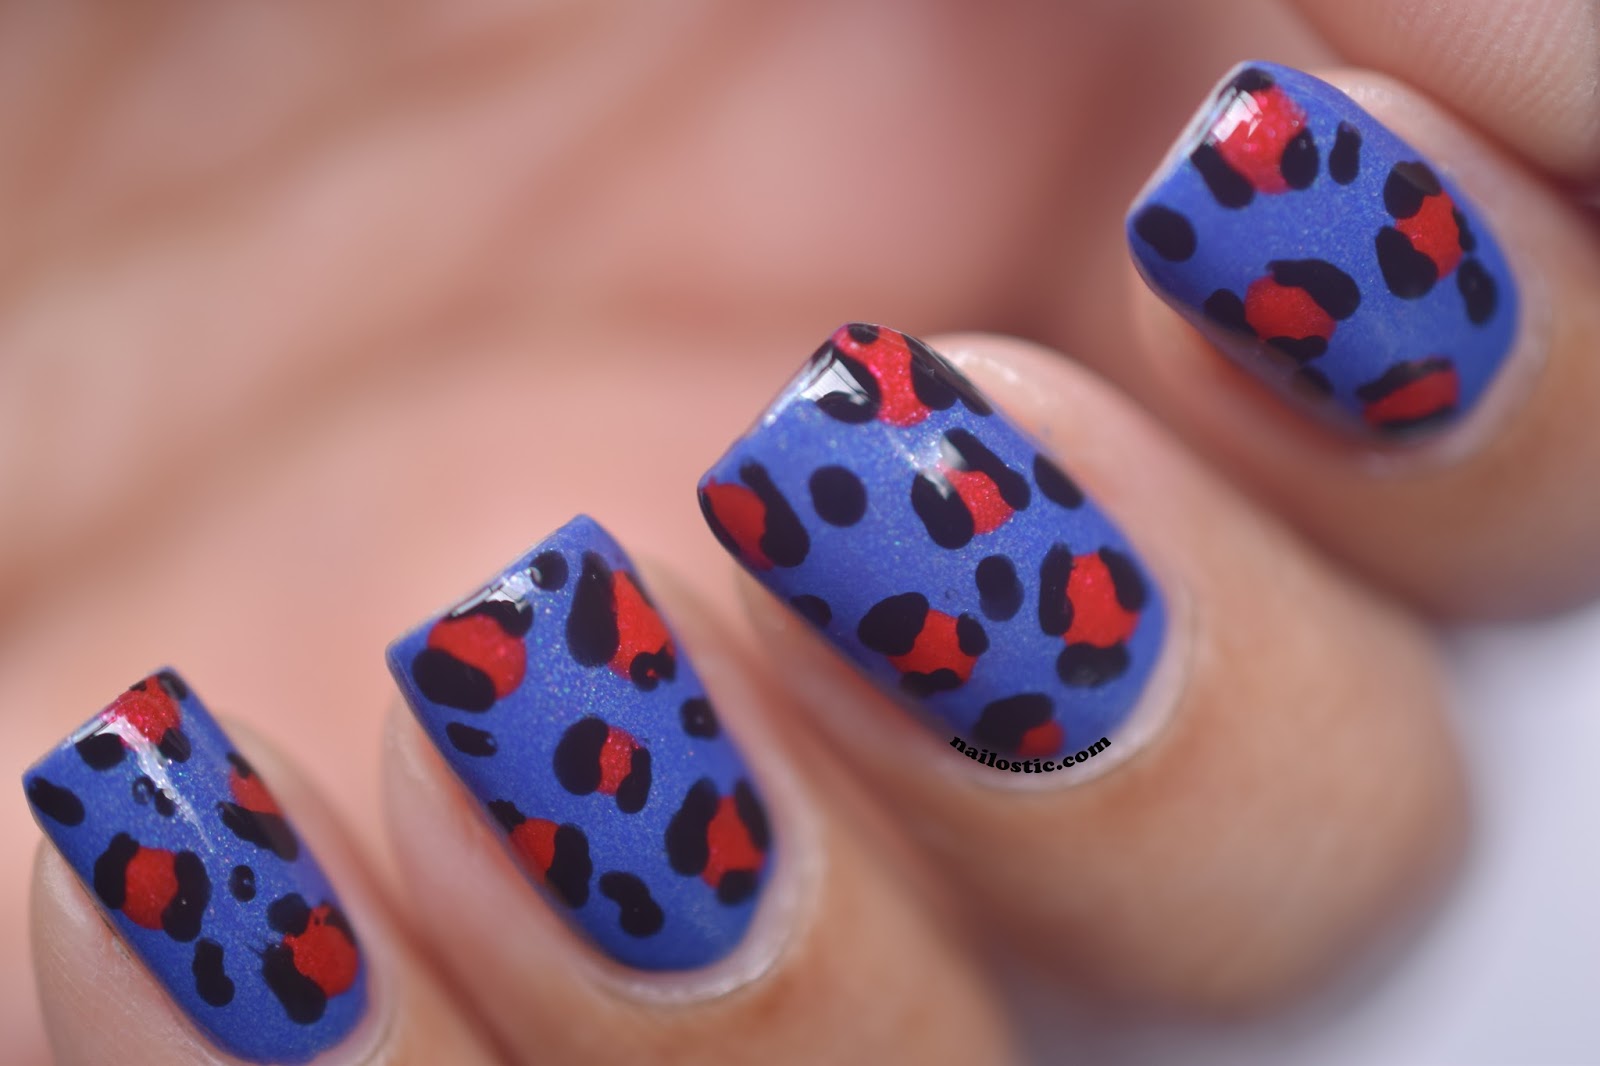
How to do Leopard Print Nail Art step by step
August 25, 2017Hi Nailostic Family,
Leopard print nail art design is very simple and super-easy to create.I love to do animal inspired nail art.This is my version of leopard print nail art. It's not realistic leopard print but I tried to make a trendy look.
*LIST OF PRODUCTS USED*
Seche Clear Professional Crystal Base Coat
Seche Vite Professional Top Coat
Sally Hansen Hard as Nails Xtreme Wear, Black Out
OPI NL BB2 Love Athletes in Cleats
BornPrettyStore Starry Sky Nail Lacquer Item Id 051
Dotting Tool
*STEP BY STEP TUTORIAL*
STEP 1
Start with a base coat.
STEP 2
After drying base coat, apply two coats of BornPrettyStore Starry Sky Nail Lacquer polish as a base color. Let this base color fully dry before moving onto the next step.
STEP 3
Dollop some red polish onto a piece of paper or surface. Dip a dotting tool into the red polish and use it to make dots across the top of nails. Dots should not be perfect.
STEP 4
Now start by dolloping a black polish out on a paper. Dab dipping tool into the black polish and draw semi-circle around the edge of the red dots. And also add some small black spots to fill any gaps.
STEP 5 AND FINAL LOOK
Finish with top coat.
More Clicks,
Hope you will enjoy this tutorial and do share your feedback.
Have a lovely day!!!


0 comments